By Leofrick R. (Karrtia Photography)
3 Invaluable Tools for Cosplay Photography
When it comes to cosplay photography, everyone has their own unique workflow and approaches. It's impossible to create a guide that suits everyone's needs, but during my own experience I have stumbled across a few invaluable tools that have greatly enhanced my own end result. I hope that through sharing, I can encourage the same from others.
Of course, I cannot list every tool and trick I have encountered in one place- there is to much, they are too diverse, and I’m not sure my site would enjoy handling a list that long, much less the people reading. Still, I’ve picked out the 3 most invaluable parts of my own workflow to share.
1 - Adobe Colour
If you have any kind of Adobe subscription- which, unfortunately, many of us do- you have access to the extremely helpful but woefully underacknowledged Adobe Colour.
With this online tool, you can generate pallates from any colour directly picked from a photo, or pull colours directly from an uploaded image. I find it deeply helpful in planning out shoot locations and initial concepts- Starting with just the predominant colours of the character, I can build around this to have my images fit within a coheasive colour scheme. After some time with this tool, I’ve developed a far better ability to visualise the colour wheel and colour theory on the spot, but this still greatly helps when I need a starting point.
Adobe Colour also has acessability tools for checking the contrast of your colours if you wish to use them for text, or to simulate colourblind views of your choices. As somebody with dyslexia myself (And apologies for the occasional misspelling within these little snippets of writing, I know), I deeply appreciate this tool and wish more people would use it. Please. Please god, please.
2 - Fandom Wiki
I work with a lot of cosplays I have absolutely no context of, I know nothing about the source material. As confident as I may be shooting these, I cannot pretend I know which idol boy you’re dressed as, or have even a semblance of an idea what the plot of Final Fantasy is. Despite this, I will do my absolute best to represent the character correctly- and this requires research.
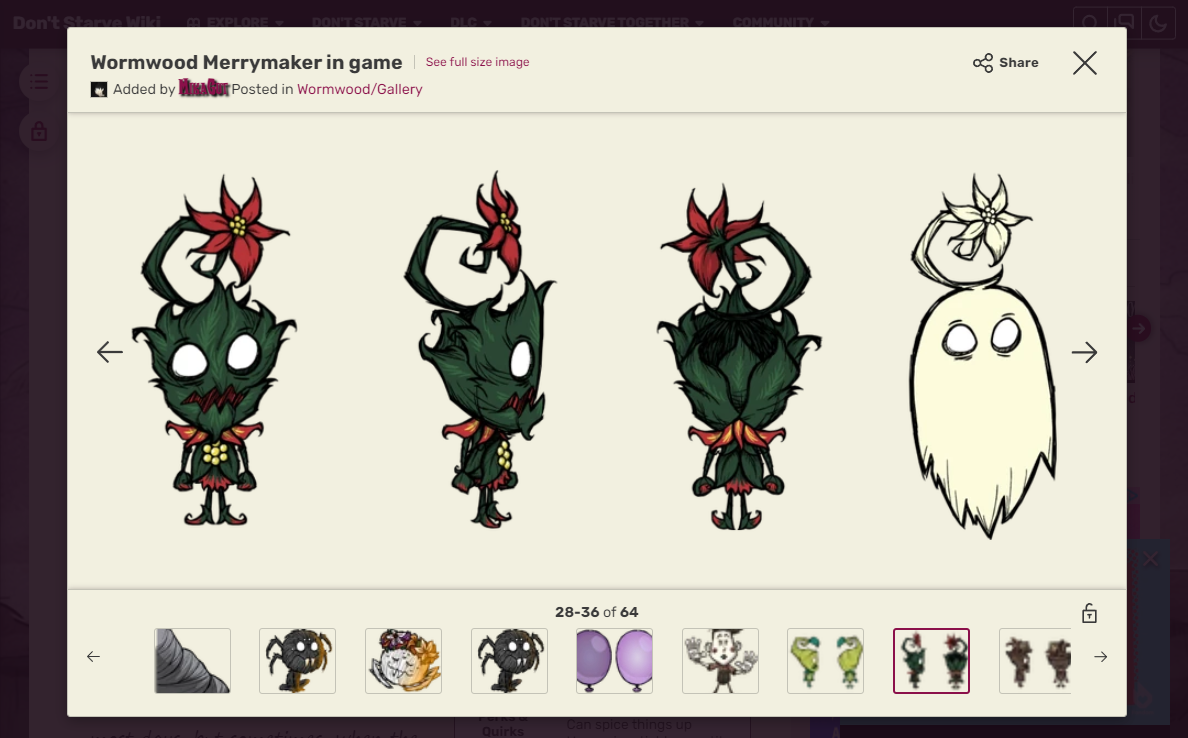
The best starting point I’ve found for this research is directly on the fandom-created wiki for the media, especially the character page’s gallery. This should give you details, sprites, splash art, signature poses and moments, and visual iconography. Occasionally too, I will find interesting resources such as the transparent PNG of a fictional idol’s autograph to overlay on images, or notes on the exact context of a specific outfit.
It is a huge advantage to any shoot to have context on what story you are trying to represent, even if this is pieced together by an evening of deep-diving into the wiki and if you’re very brave, tumblr fanart. Such knowledge can give you direction on visual motifs and colours, iconic poses or scenes, and help relax your model that you know what you are doing when you give direction.
You don’t have to know every intricate detail of every media- or really even the actual plot. I still don’t know what Edelgard is the emperor of, nor can I name any of the characters from… shoot, what’s it called… the one that isn’t Hazbin Hotel. I don’t know, man. I’m old.
My point is, research is invaluable. Look at a character’s gallery.
Seriously though, this isn’t a bit, I forgot the name of that show while writing this. It has an owl, and Alex Brightman, and a character that is NOT Roxanne Wolf. This is going to really bug me. Y’know, demon homestuck. Sole red bodypaint stockholder.
3 - Pen and Paper
Or a digital version of such, if you like colour as much as I do.
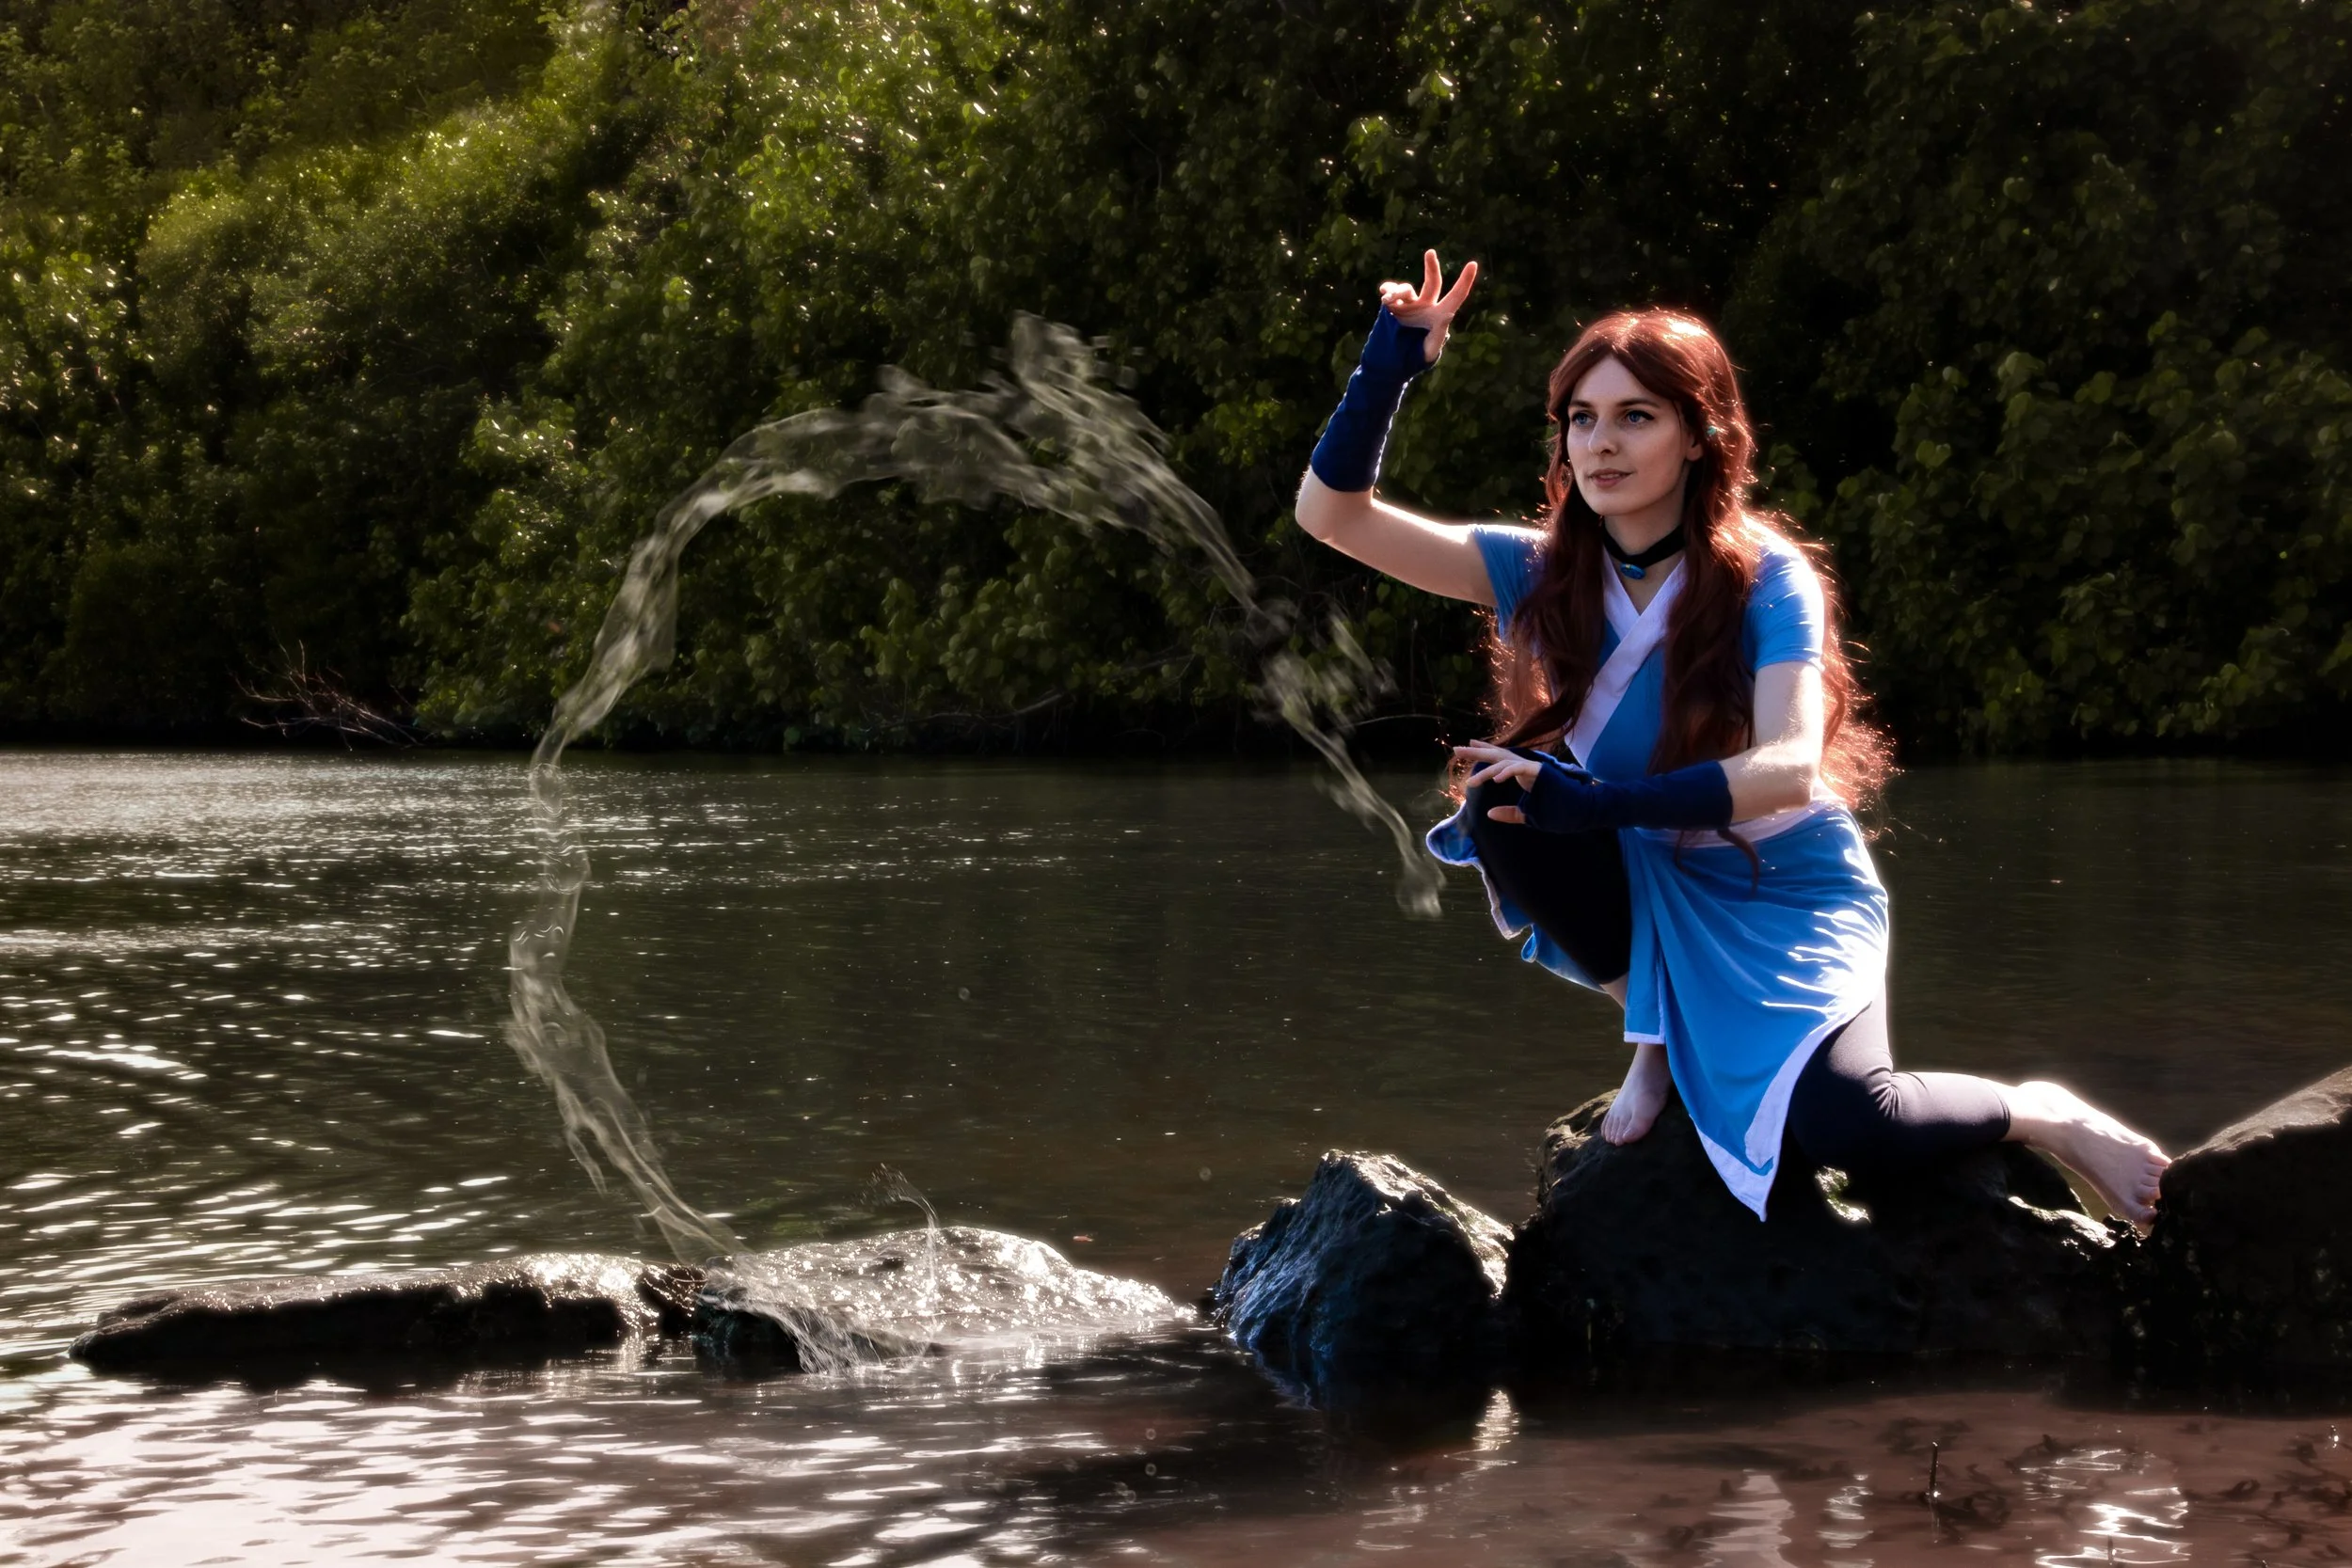
Of all the tools in the world, nothing beats simply thumbnailing down some ideas for composition and colour. Looking at some comic book theory for creating vibrant, dynamic poses can go quite a long way with helping this stage, and nothing is more helpful than simply having visual notes on-hand for what you want to create. It acts as a shot-list, a place to jump from if you get stuck, or simply warm-up shots before you find your groove.
Remember to include close, bust and full body shots, any poses highlighting props or specific details, and occasionally a shot to show the back of the cosplay is appreciated.